The Shoot Pose skill returns the robot pose with the shooting height set via DART-Vision. This skill utilizes the returned pose to move the robot to the shooting position.
The Shoot Pose skill must be used after carrying out hand-eye calibration or auto calibration under the DART-Vision Calibration tab and saving the calibration data in the SVM. If you have not performed calibration, please refer to the DART-Vision manual to do so.
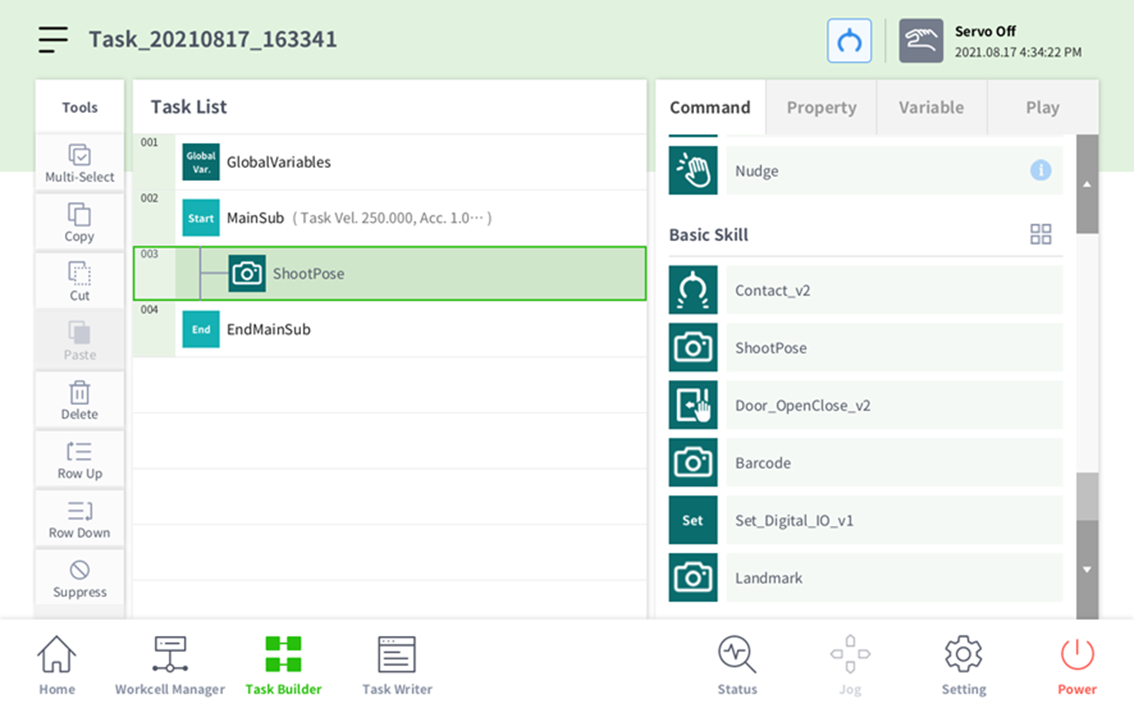
After completing 'Vision Skill: Installing the Vision Skill', move the command scroll bar downward to check whether the Shoot Pose skill is present. If it is, follow the order in the image.

-
Click the Shoot Pose button under the Command tab to add the Shoot Pose skill.
-
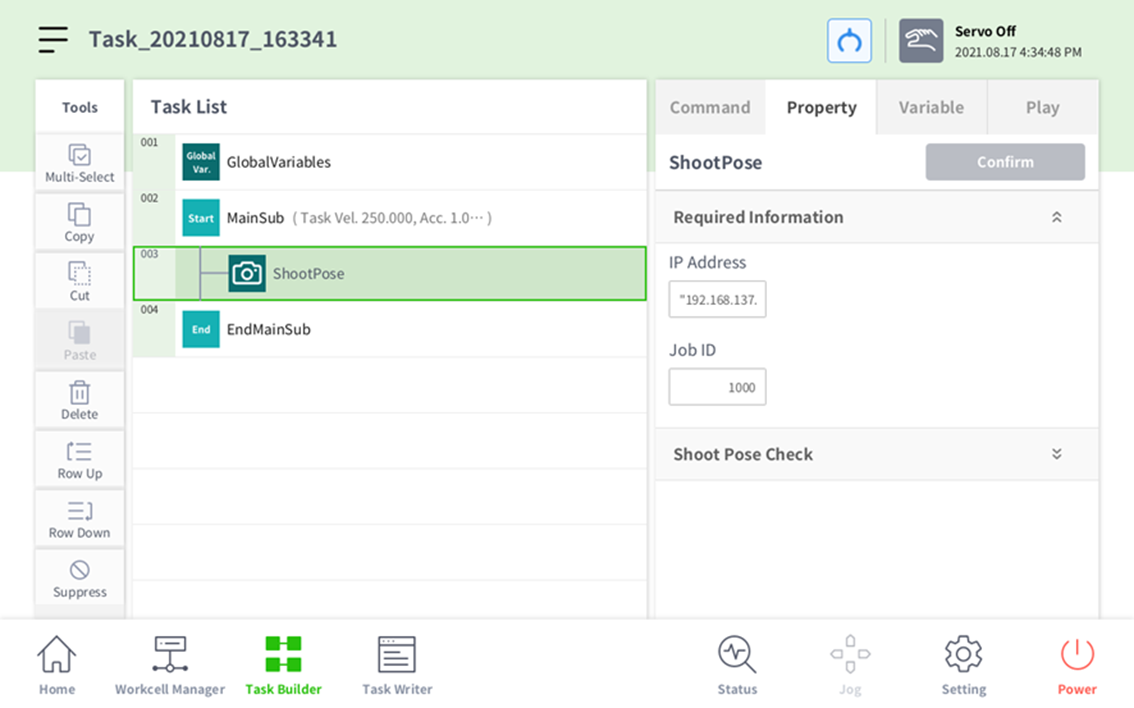
Open up Required Information in the Property tab and input the IP address and job ID of the shooting pose.
-
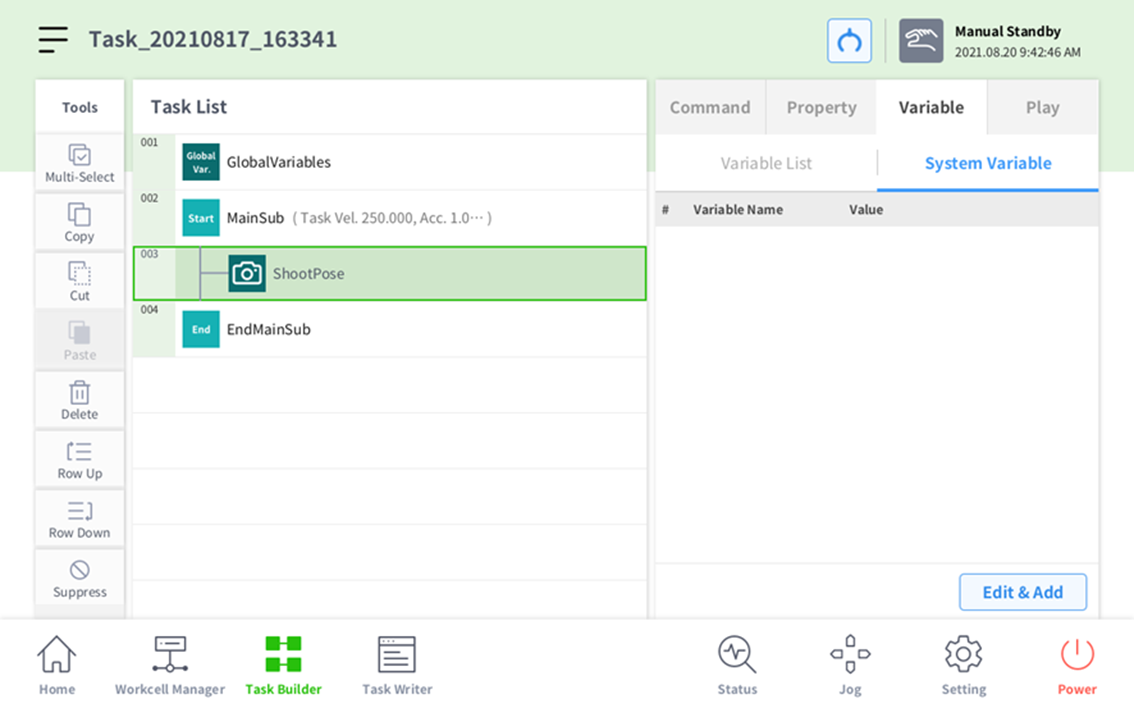
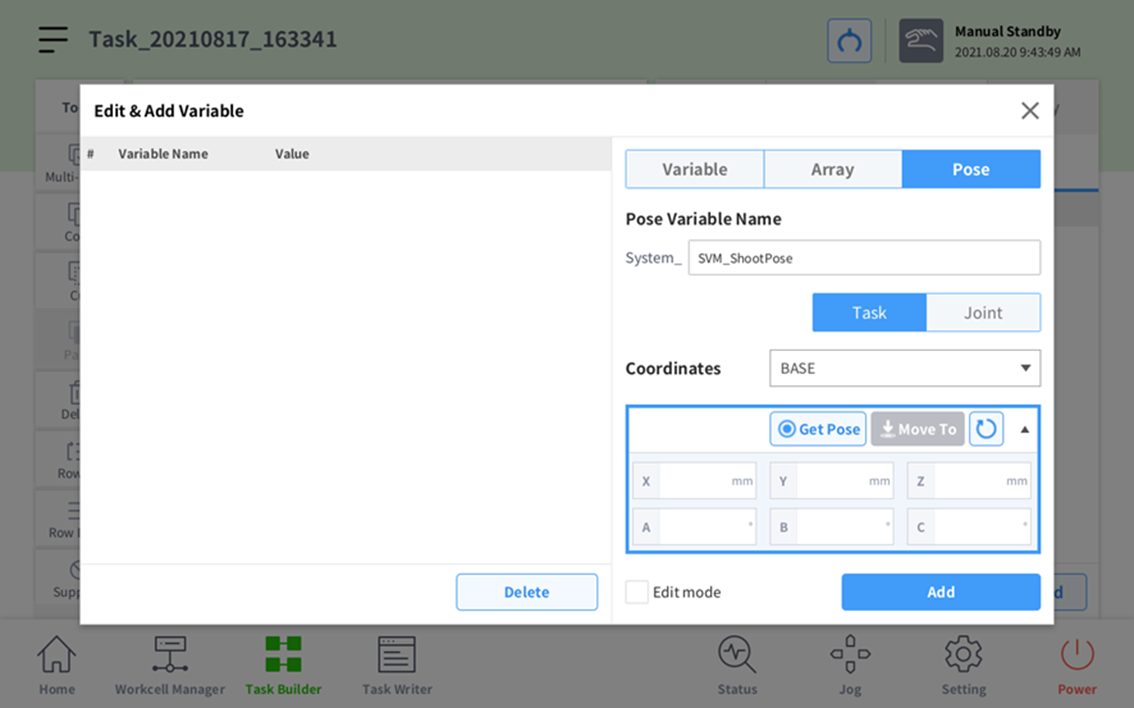
Press the Edit & Add button under the Variable tab.
-
Add in System_SVM_Shoot Pose.
-
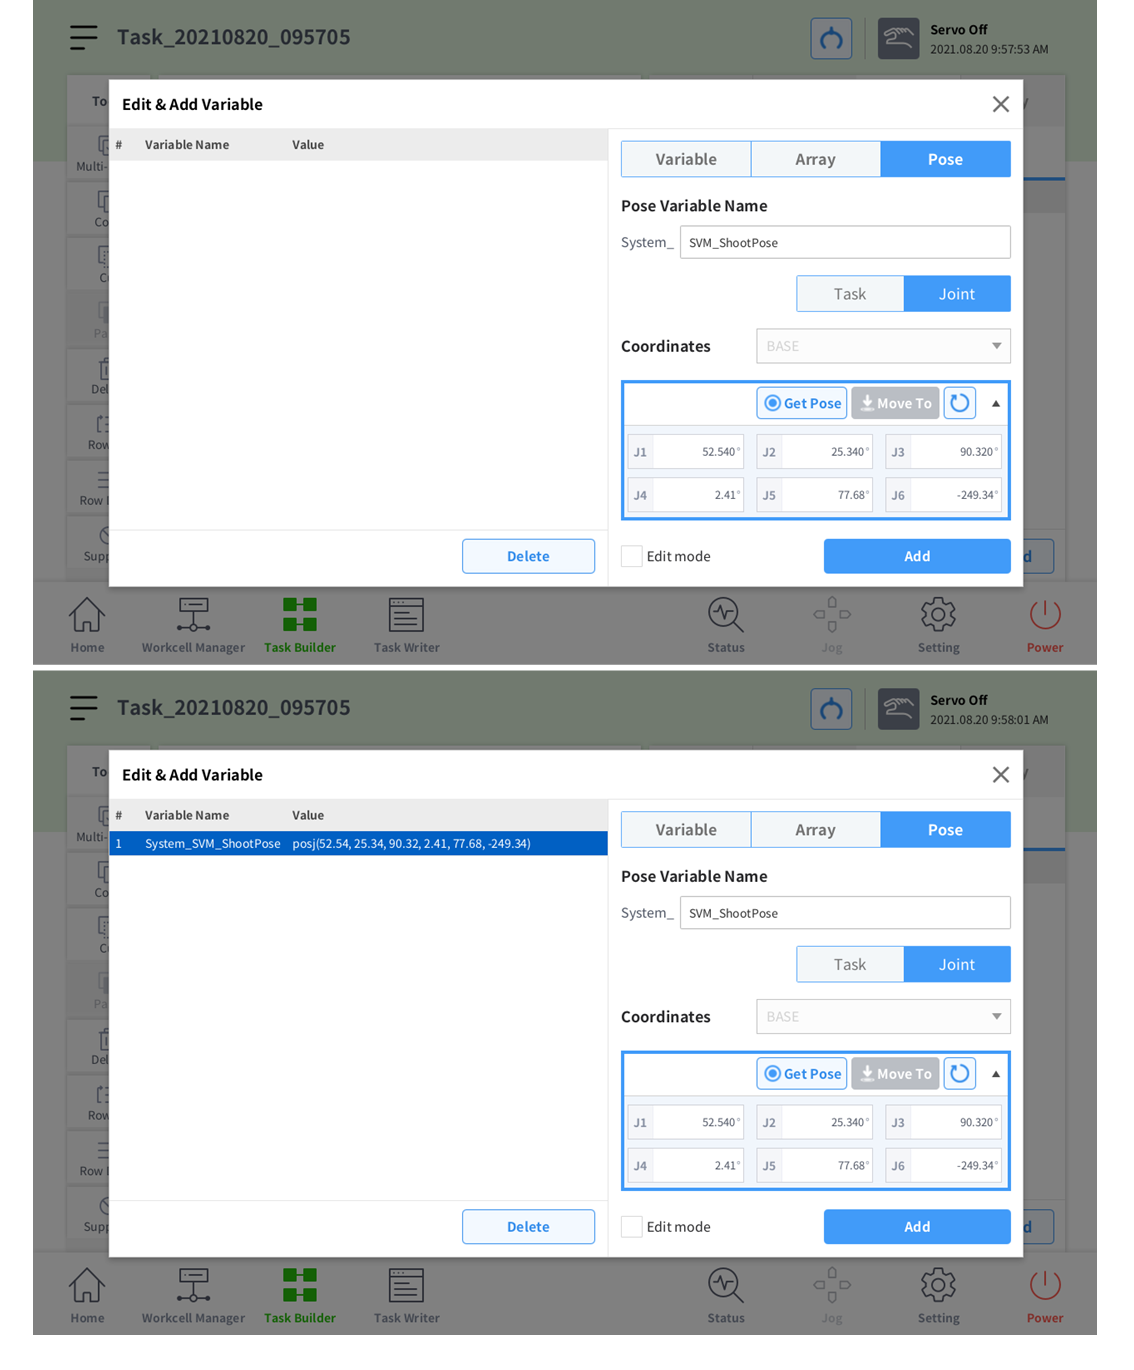
Because the Shoot Pose is a joint coordinate, press the Joint button.

-
Press Get Pose. Pressing the Add button will add a variable.
-
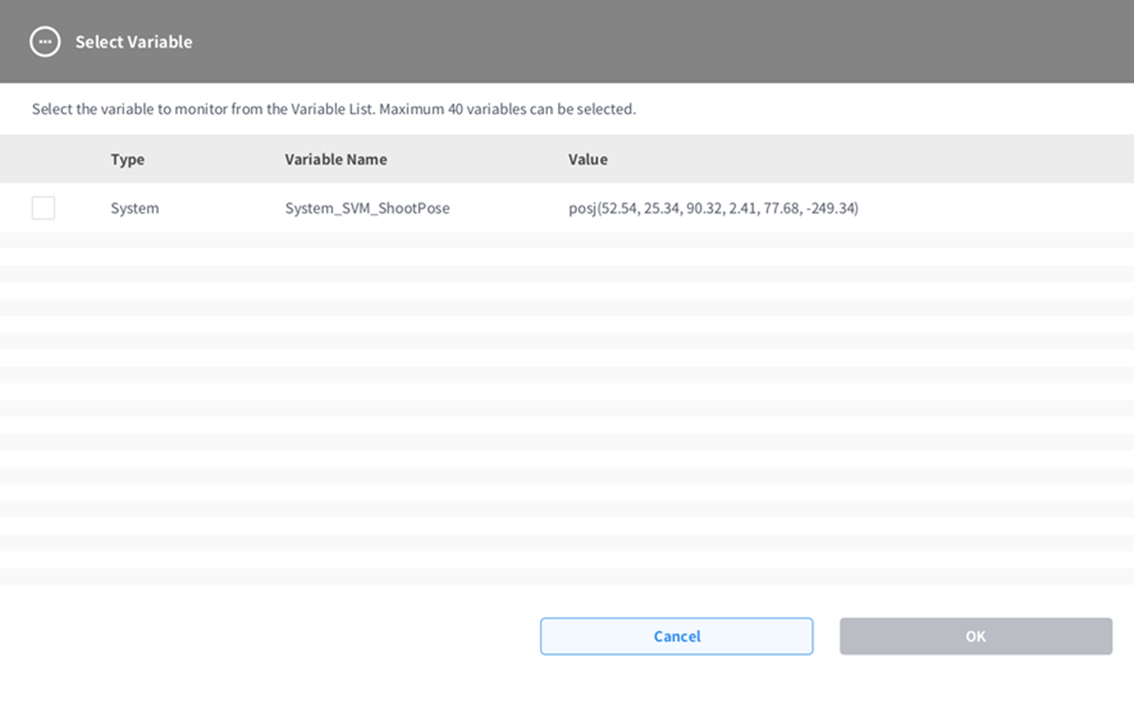
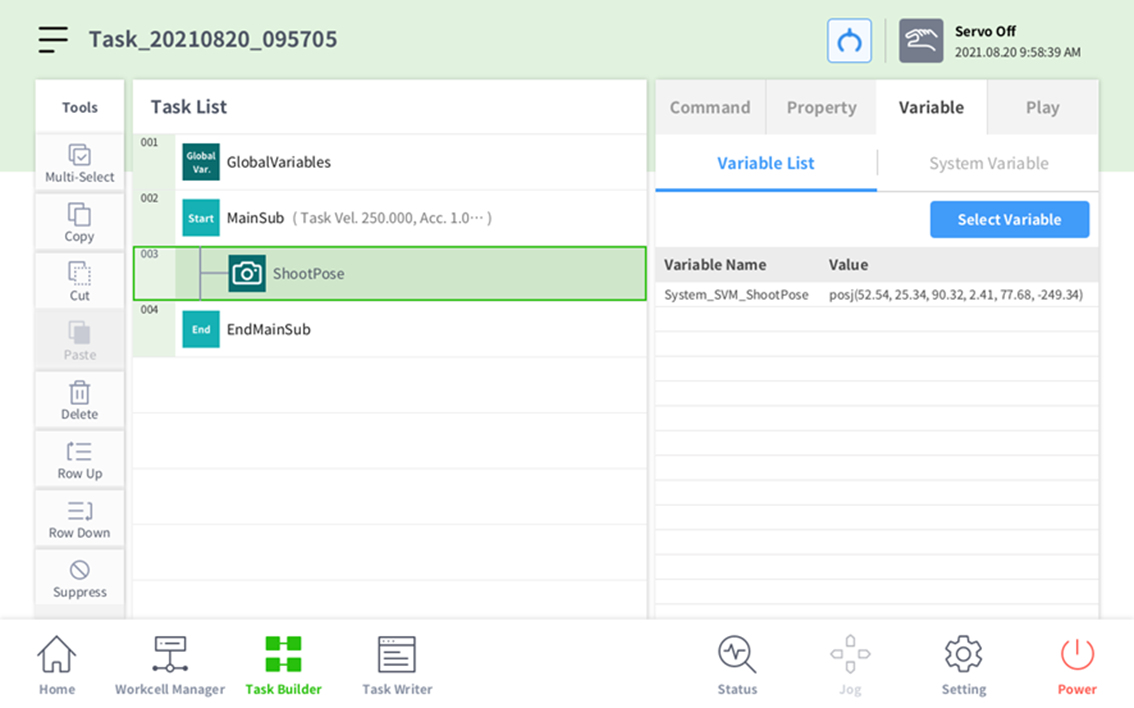
Close the window, press the Variable List button, then press the Variable.
-
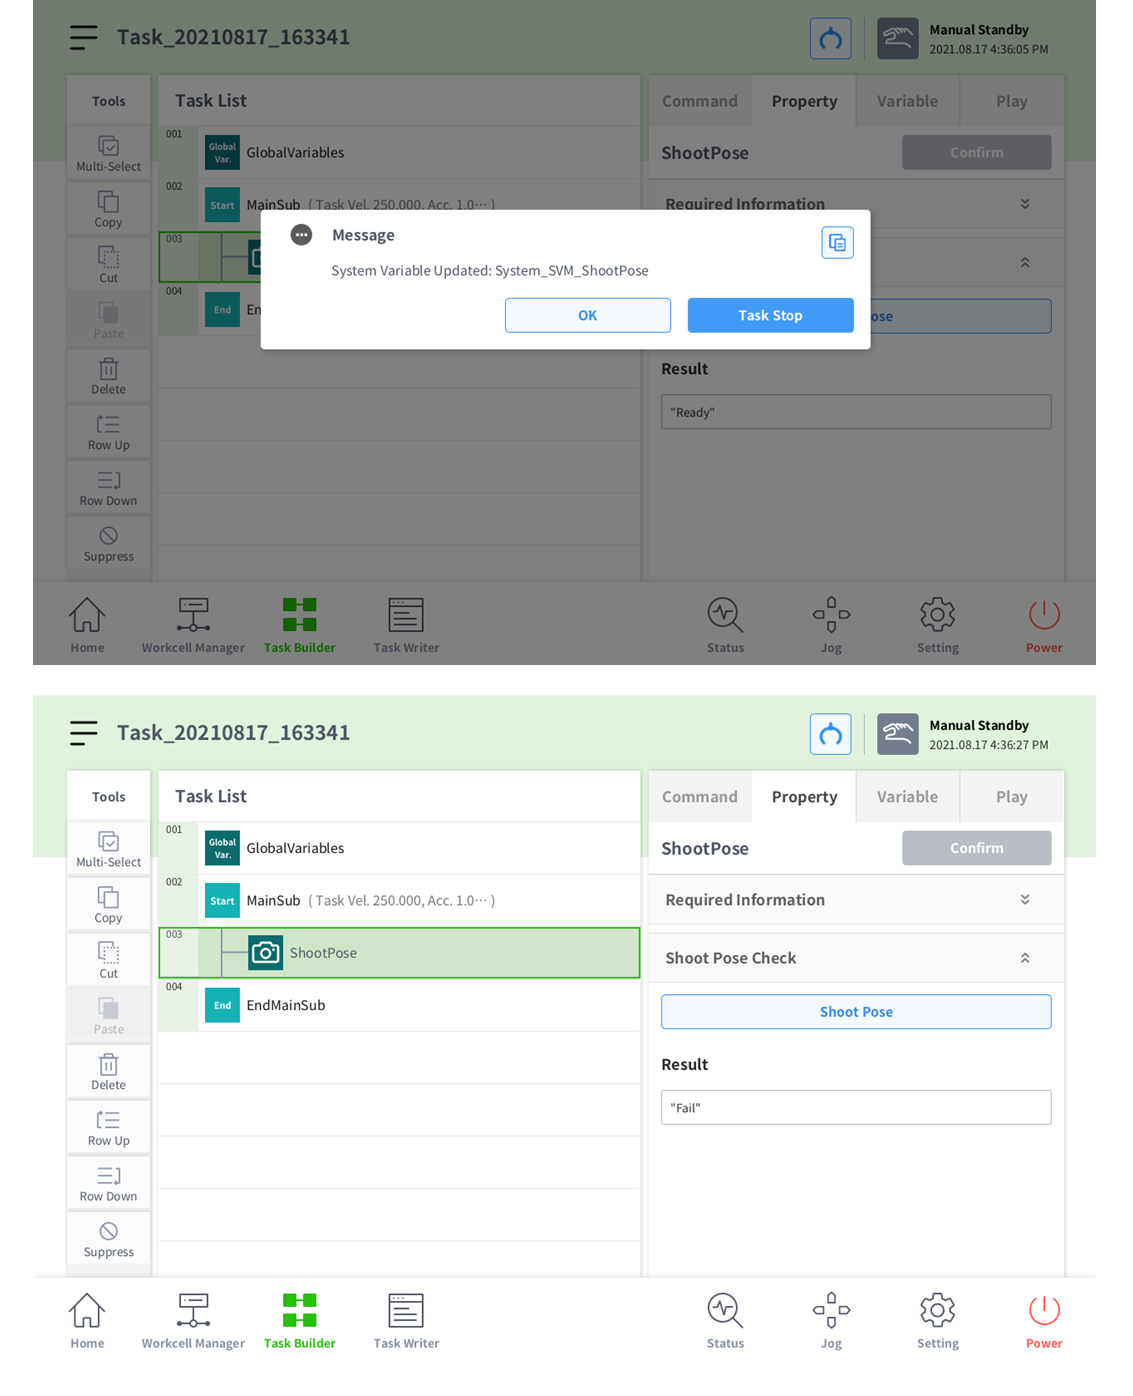
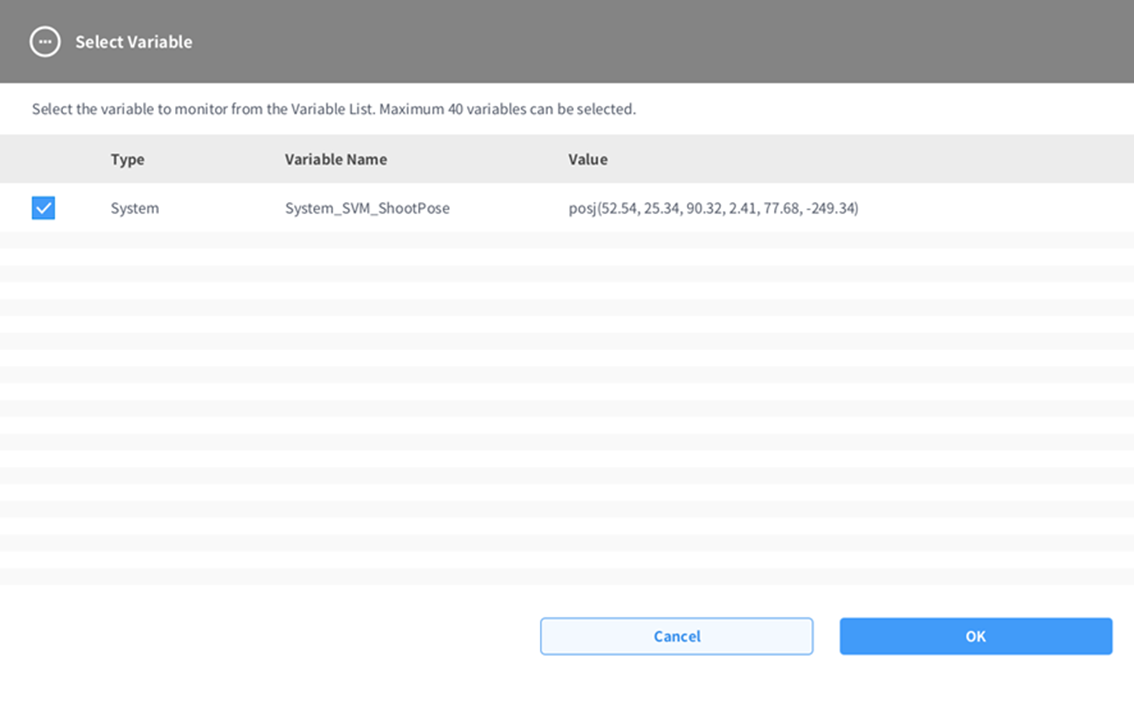
Check the System_SVM_ShootPose checkbox and press Confirm to select the Variable.
-
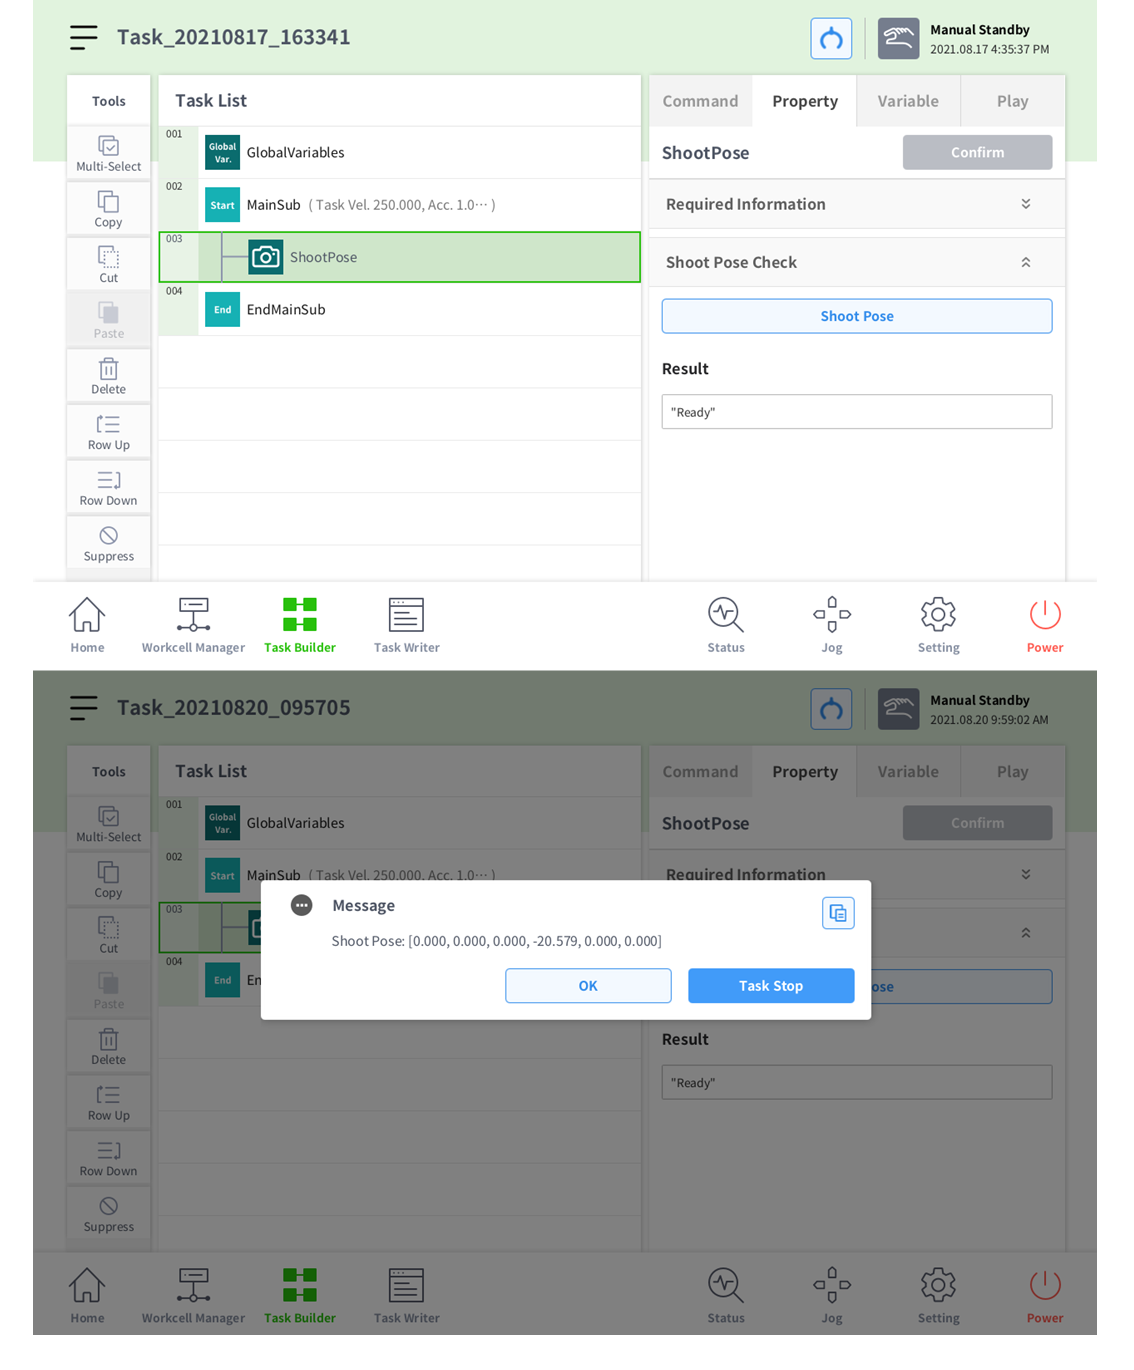
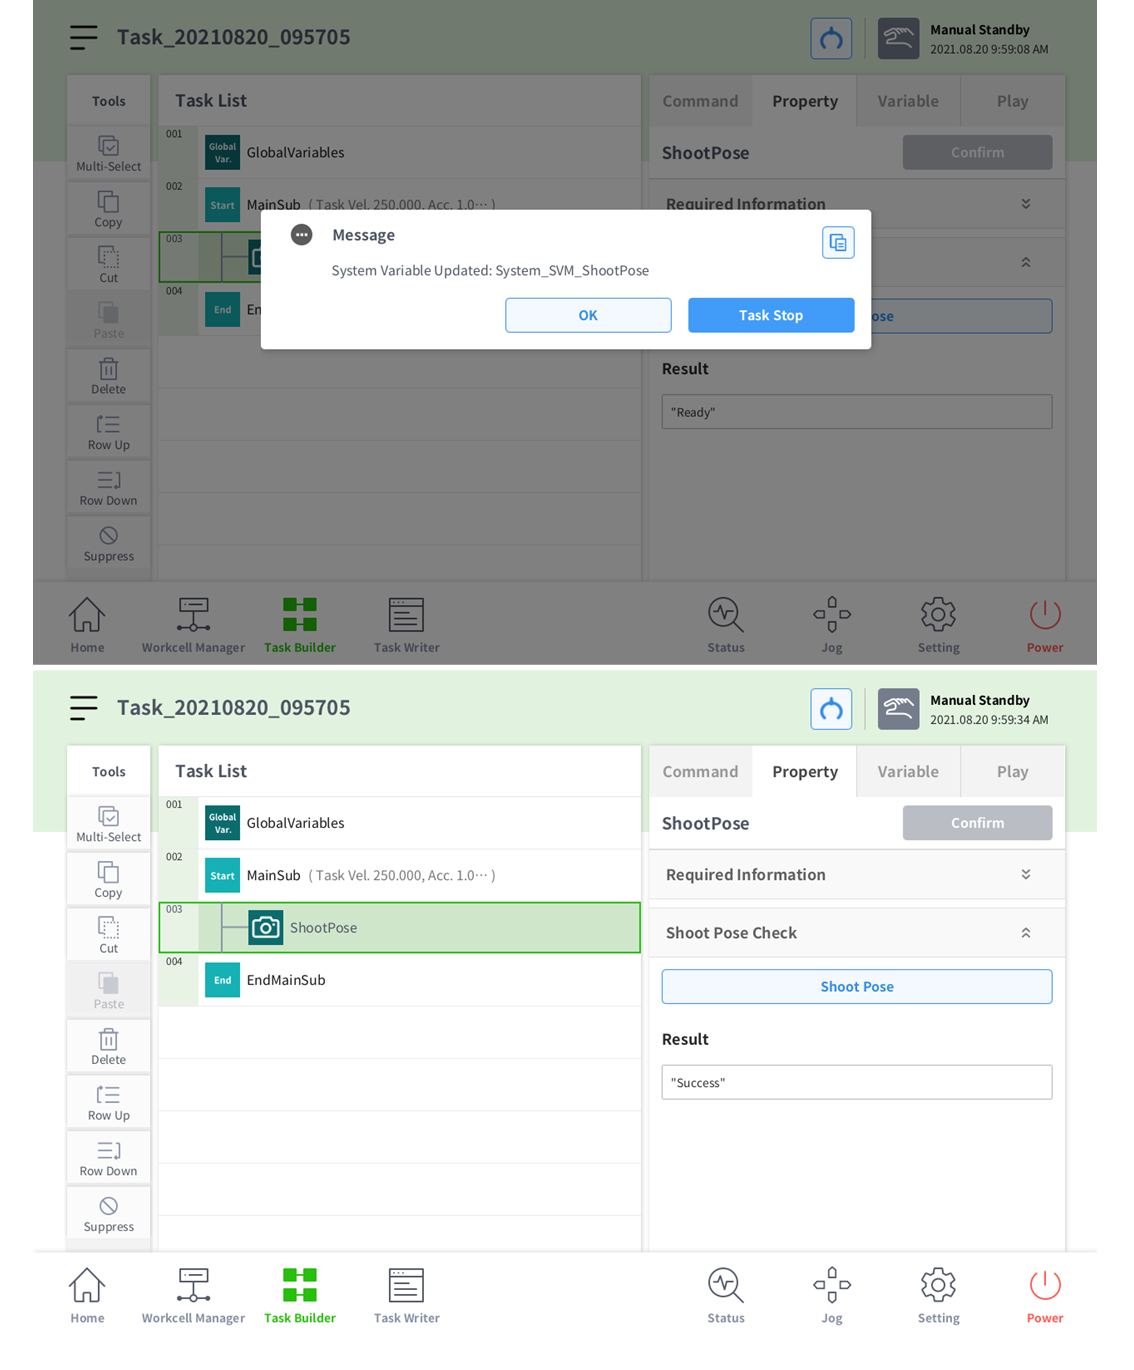
Return to the Property tab, open up Shoot Pose Check, and click the Shoot Pose button.
-
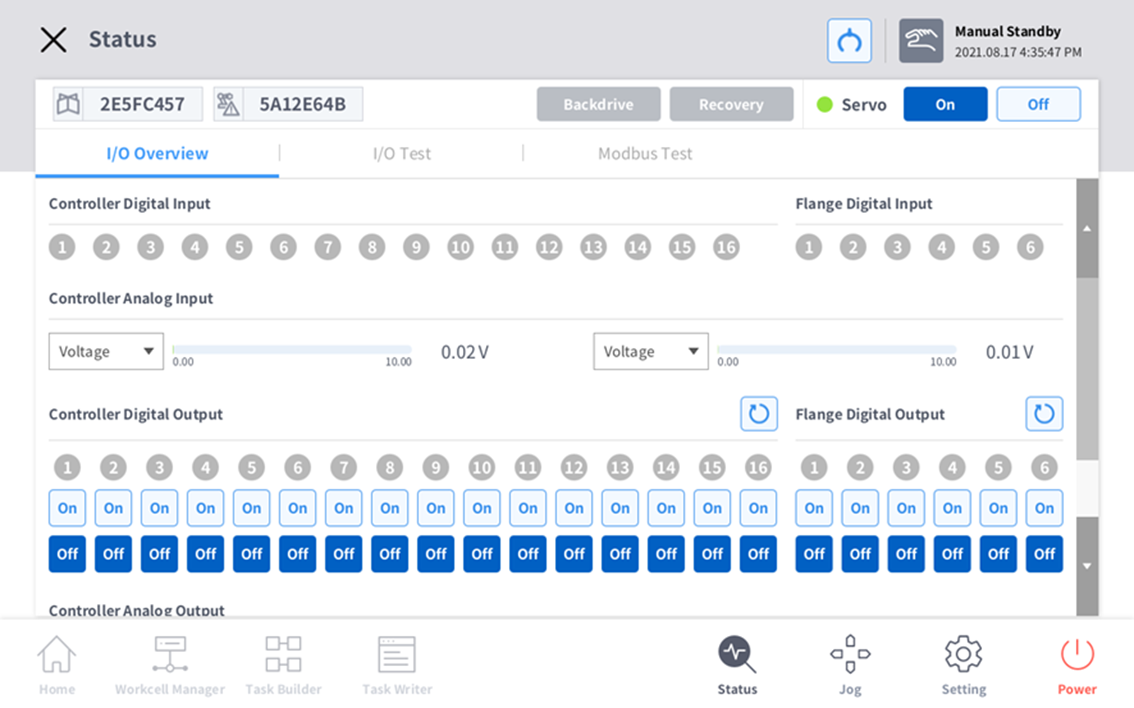
In order to perform property check testing, the robot must be in Servo On status.
-
You cannot use this without first adding the system parameter System_SVM_ShootPose.